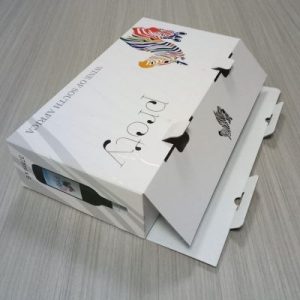
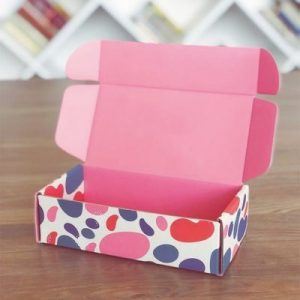
In order to adapt to changes in the market economy and enhance the competitiveness of products, many corrugated box layouts have begun to use dot graphics to highlight products. Enriched the layout, but also improved the packaging grade of the product.
In the packaging design, the graphics have strong expressive power and visual impact, which can easily attract people’s attention. The graphics printed with dots are difficult to counterfeit, have good anti-counterfeiting performance, rich layering, three-dimensionality, and are pleasing to the eye. To get a high-quality dot effect, you must first work hard on the draft: For corrugated box printing, too dense dots can easily cause smearing; too thin dots will lose the graphic details and affect the graphic effect. You must be accurate during production. . There are two types of graphics: vector graphics and bitmaps. The dot processing methods are different. For vector graphics, it is necessary to control the grayscale and reflect the level through grayscale changes. The size of the grayscale determines the size and thinness of the dots.
Process the scanned graphics. After it is completed, it is converted to grayscale mode, and then processed by the color halfone in the filter Pixelate in PHOTOSHOP. The size of the dots should be adjusted according to the grayscale of the graph through the parameters in the color halfone dialog box to obtain a dot pattern suitable for printing conditions. After the vector and bitmap are processed, the negative film used for printing must be output through the output center. The number of output screens also determines the important parameter of the number of graphics screens. The larger the number of screens, the more the number of screens. Be sure to choose the right one when outputting. The number of network cables. In the process of making dot graphics, it is necessary to comprehensively consider the grayscale graphics of the vector diagram and the number of output screen lines, as well as the halftone processing graphics of the bitmap and the number of output screen lines, in order to obtain the overall network effect.
In general, try to avoid printing the dot pattern and the large area color block pattern in the same block. If the large area color block pattern and the dot pattern are printed separately, the pressure adjustment and color control are much simpler. After the design draft is output as a negative film, the plate can be made. The resin plate used to make the dot pattern requires a higher hardness, with a hardness of 45. -50. Shore A is suitable, and the material has low elasticity and slow recovery from denaturation to ensure good reproducibility of the dot pattern.
The production of dot resin plates on the same product packaging should be carried out at the same time as possible and completed at one time. It is very easy to have the difference in the printing depth of the dots and produce different effects. If the dot plate cannot be processed at one time, the back exposure, main exposure, washing, drying, debonding and post-processing time must be strictly controlled when making the plate, so that the processing data is consistent each time, so as to obtain the same effect of the dot resin plate.
When designing dot graphics, you must also consider the number of screen lines of the anilox roller of the corporate printing press. The correct selection of the anilox roller is very important, and it determines success or failure. Soldering rollers are the most common type. With the widespread use of anti-squeegee blades and the promotion of new high-speed printing presses, rapid wear of anilox rollers is a problem. Many companies have begun to adopt wear-resistant ceramic ink rollers. Its high demeanor is conducive to dot pattern printing.
When the same color printing contains full plate and dots, the thickness of the full plate can be increased by 0.15-0.30mm to improve the plate pressure and printing pressure. There will be dot expansion during printing, which requires the printer to adjust the pressure as light as possible to obtain the smallest dot expansion, and to make a detailed record of the parameters adjusted by the printer so that the same printing effect can be tracked in the future. After printing, the dot resin plate should be cleaned immediately to prevent the ink from drying on the plate surface, causing clogging of the dots and causing bad plates.


