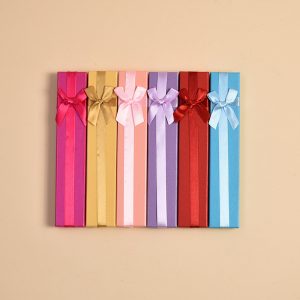
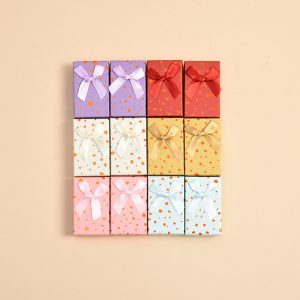
Designing DIY jewelry box makeovers is a creative and rewarding project that allows you to transform ordinary jewelry boxes into unique pieces of art that reflect your personal style. Here’s a step-by-step guide to help you get started on designing dreamy DIY jewelry box makeovers:
1. Gather Your Supplies:
- Old or plain jewelry boxes
- Sandpaper (to smooth the surface)
- Paints (acrylic, chalk, or spray paint)
- Brushes and sponges
- Decoupage paper or fabric (for covering surfaces)
- Mod Podge or glue
- Decorative elements (beads, gems, buttons, etc.)
- Stencils or stamps (for patterns)
- Clear sealant (varnish or clear spray paint)
- Painter’s tape (for clean edges)
- Optional: drawer liners, knobs, handles
2. Plan Your Design:
- Decide on a theme or color scheme for your jewelry box makeover. Whether it’s vintage, boho, modern, or shabby chic, having a clear vision will guide your design choices.
3. Prepare the Surface:
- Clean and sand the surfaces of the jewelry box to create a smooth base for painting or decorating.
4. Paint and Prime:
- Apply a coat of primer if needed. Then, start painting your jewelry box with the base color. You can use one color or experiment with multiple shades.
5. Create Patterns and Textures:
- Use stencils or stamps to create intricate patterns on the surfaces. You can also experiment with textures like stucco or crackle medium to add depth and interest.
6. Decoupage and Collage:
- Cover parts of the box with decoupage paper or fabric for a unique look. Mod Podge works well for this technique. Cut the paper to fit, apply glue, and smooth out any wrinkles.
7. Add Decorative Elements:
- Glue on beads, gems, buttons, or other decorative elements to enhance the box’s visual appeal. You can create borders, designs, or focal points with these embellishments.
8. Paint Details and Accents:
- Use fine brushes or sponges to paint intricate details, accents, or highlights. This can include swirls, dots, or delicate lines.
9. Finishing Touches:
- Apply a clear sealant to protect your design and give it a polished finish. This step will also make your jewelry box more durable over time.
10. Hardware Upgrade:
- Consider replacing the knobs or handles with new ones that complement your design. This small change can make a significant difference.
11. Interior Revamp:
- Don’t forget the inside of the jewelry box! You can line the interior with decorative paper or fabric to match the exterior.
12. Personalize:
- Add a personal touch by incorporating your initials, a meaningful quote, or a special date using stencils or freehand painting.
13. Display and Enjoy:
- Once your DIY jewelry box makeover is complete, display it in a prominent spot where you can enjoy its beauty and functionality. It can also make a thoughtful gift for someone special.
Remember that DIY jewelry box makeovers are all about expressing your creativity and making something uniquely yours. Embrace experimentation, have fun with the process, and let your imagination guide you as you design dreamy jewelry box transformations.


